Showing posts with label upcycled. Show all posts

Monday, March 24, 2014

Custom chair slip cover in a day

Custom chair slipcover in a day; yes please and thank you...

Sometimes it's a great debate about whether to buy something new or to go through the effort to make it myself. This was one of  those times when I decided to put the time into something homemade.
 I bought this chair about 5 years ago at a yard sale, and it has been so well-loved the vinyl began to tear away. I debated for a long time about whether to toss & replace the chair, reupholster it, or simply cover it up. Duct tape can only hold for so long.
 A new chair like this would run me $90 - $300; I figured let's see what $60 and an afternoon with the sewing machine can do.
  Not too shabby, if I do say so myself.
  Sorry, no tutorial about how I made this one. This is my third attempt at a custom slip cover, so I'm not confident enough to offer advice. Let it suffice to say that a pattern was cut from tissue paper, followed by lots of pinning and unpinning to get it right.
   This will make a cozy spot in our office for study or prayer time.
  And it turns out that I had a lot of fabric left over, so we'll be able to make something else to match!

Friday, June 14, 2013

DIY Modular Spice Rack

I've found so many uses for food boxes. This is my quick, easy storage solution that cost me absolutely nothing. I needed to clear some counter space in my kitchen. I had been storing my spices in a 3-drawer plastic bin intended for scrapbook paper. Since we won't be staying in this apartment for very much longer, I needed an inexpensive, temporary solution to clear clutter off the countertops. We're always thinking of ways to reuse and upcycle at our house..


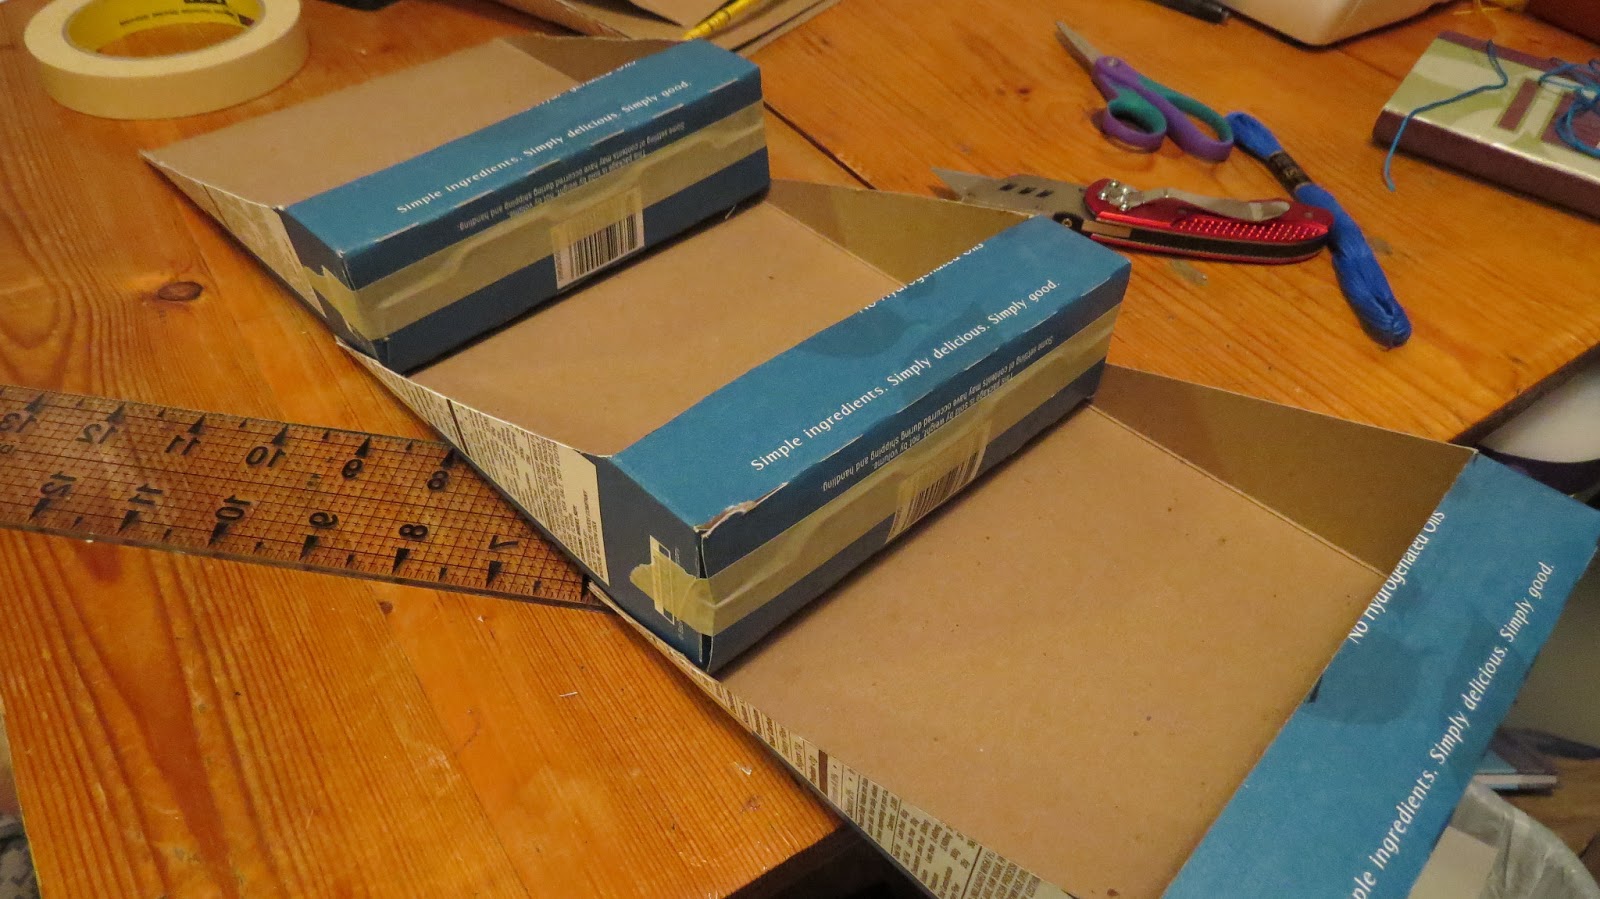
I taped the bottom of a cookie box shut.
  I measured 1 1/4 inch from the bottom of the box, and used a knife to carefully cut a slit  in the box. (I chose 1 1/4 inches, because that seemed about just the right amount to still be able to read the labels on the spice containers)
 I used a straight edge to mark a line at an angle from my slit toward the opposite corner on the top of the box.
 I carefully cut along that line, using my knife.
 I folded the flap at the top of the box backward, and taped it down. This would give me a double thickness through which to nail the top edge of the box to the wall.
 Deciding how I want to arrange my boxes on the wall...
 Then, I used a couple of finishing tacks to mount my new spice rack to the wall. Done!
Totally customizable, and absolutely free. You could also nail them to the inside of a cabinet door, so they're out of sight. The boxes could easily be spray painted or covered with decorative paper to pretty them up a little. This concept could work with almost any box and could be used for infinite possibilities. Use a cereal box for children's books, a small box for pens etc...

...And a great way to avoid throwing something in the trash if recycling isn't available for these types of containers in your area.

If you've used these in a fun way in your home, please share your ideas or photos with me!